Manage Applications
Overview
Create an application in TEKTELIC KONA Core Network Server, so you can add LoRaWAN® devices to it and forward their data. You also edit and delete applications, attach integrations, set API limits and assign an application to a Sub-Customer.
An application groups devices that share the same settings and the same data path:
- Devices: each device belongs to exactly one application.
- Network settings: the radio and MAC settings for every device that uses the application settings. See Network Settings.
- Integrations: where KONA Core sends the devices' data. See Integrations Overview.
- Alarm rules: who is notified about the application's alarms. See Application Alarm Rules.
- Multicast groups: devices of the application that receive the same downlink. See Multicast Groups.
We recommend one application per use case, for example one for building sensors and one for asset trackers. Devices of one use case usually need the same integration and the same settings.
Before you start
- Role: Customer administrator or Sub-Customer administrator to manage applications within its access scope. Only a Customer administrator can assign an application to a Sub-Customer. A Sub-Customer administrator works with its own applications and applications assigned by its Customer. User roles open applications read-only. See Users, Roles & Permissions.
- Subscription plan: room for one more application. The plan sets the Amount of maximum allowed applications. See Subscription Plans & Limits.
- For integrations: a data converter for your devices. See Payload Converters Overview.
Steps
Create an application
-
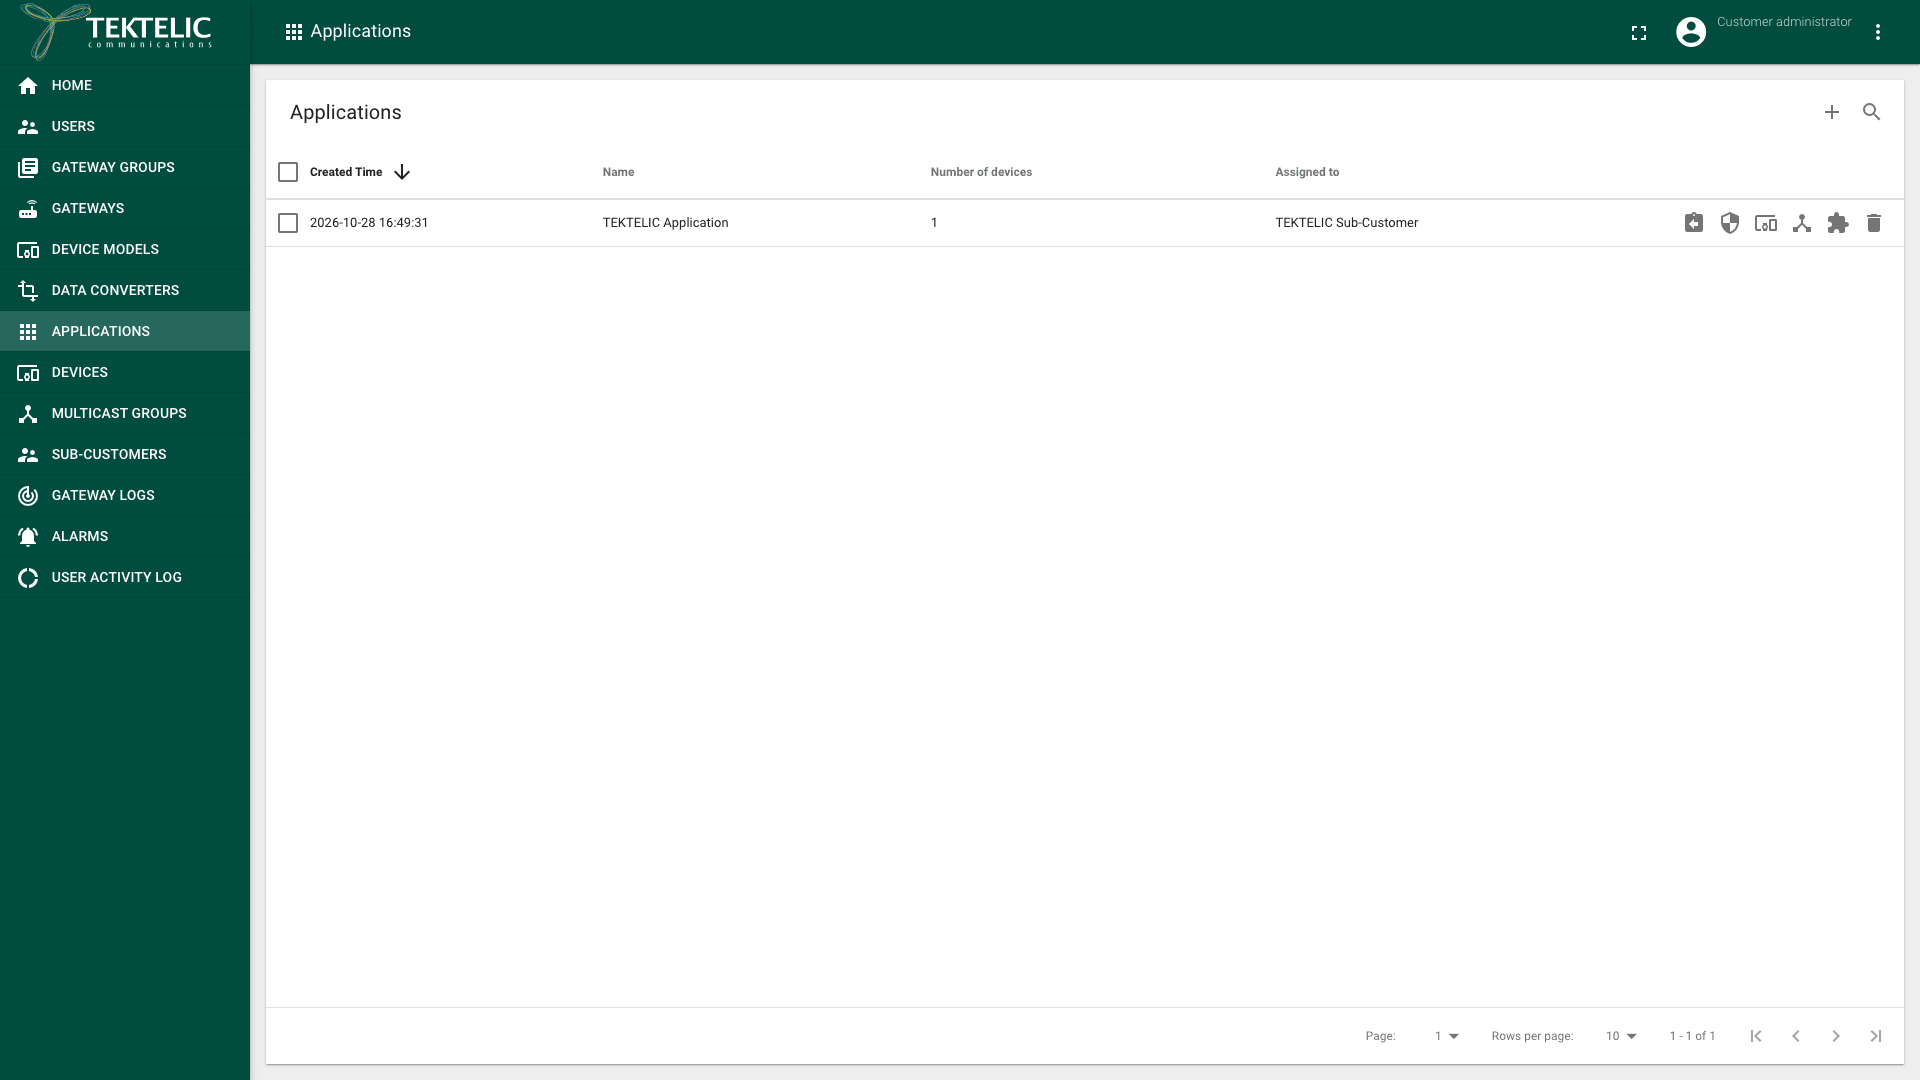
In the side menu, select Applications. The Applications page lists your applications with their Created Time, Name, Number of devices and Assigned to Sub-Customer.
-
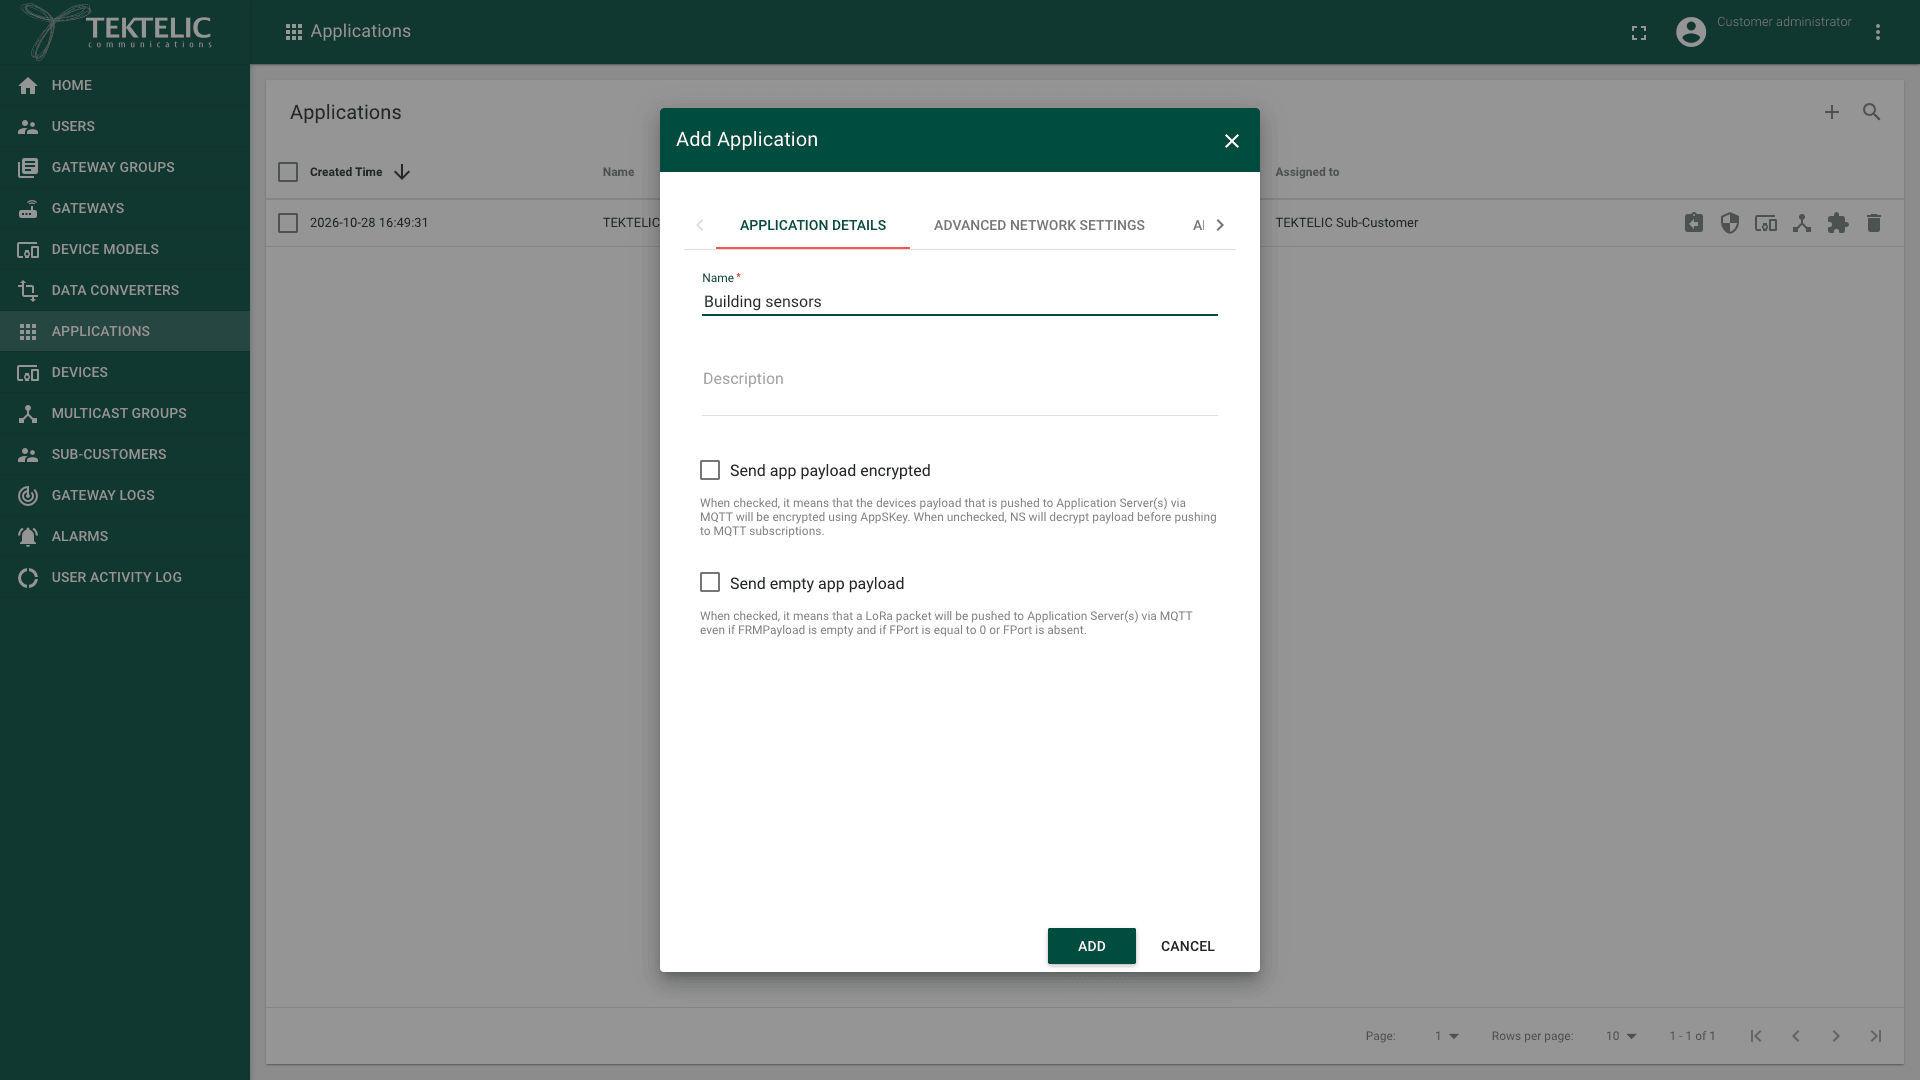
Select Add Application (the + icon). The Add Application dialog opens with three tabs: Application details, Advanced network settings and Api limits.
-
Enter a Name. The name is required.
-
Optional: enter a Description.
-
Leave Send app payload encrypted cleared. When it is cleared, KONA Core decrypts the payload before it pushes it over MQTT. Select it only if your application server decrypts payloads itself with the AppSKey.
-
Leave Send empty app payload cleared. When it is selected, KONA Core also pushes packets with an empty payload over MQTT, and packets with FPort 0 or without an FPort.
-
On the Advanced network settings tab, leave ABP activation cleared. The UI hint says that when it is selected, the application's devices are activated manually and OTAA is disabled. We recommend OTAA for every device that supports it.
-
Keep the other values on the Advanced network settings tab, unless your device's documentation asks for others. For what each setting does, see Network Settings.
-
Keep the values on the Api limits tab. Enabled is cleared by default, so no limit applies. See Set API limits.
-
Select Add. The new application appears in the Applications list with Number of devices 0.
Next, add devices to the application. See Onboard a TEKTELIC Device.
Edit an application
-
In the side menu, select Applications.
-
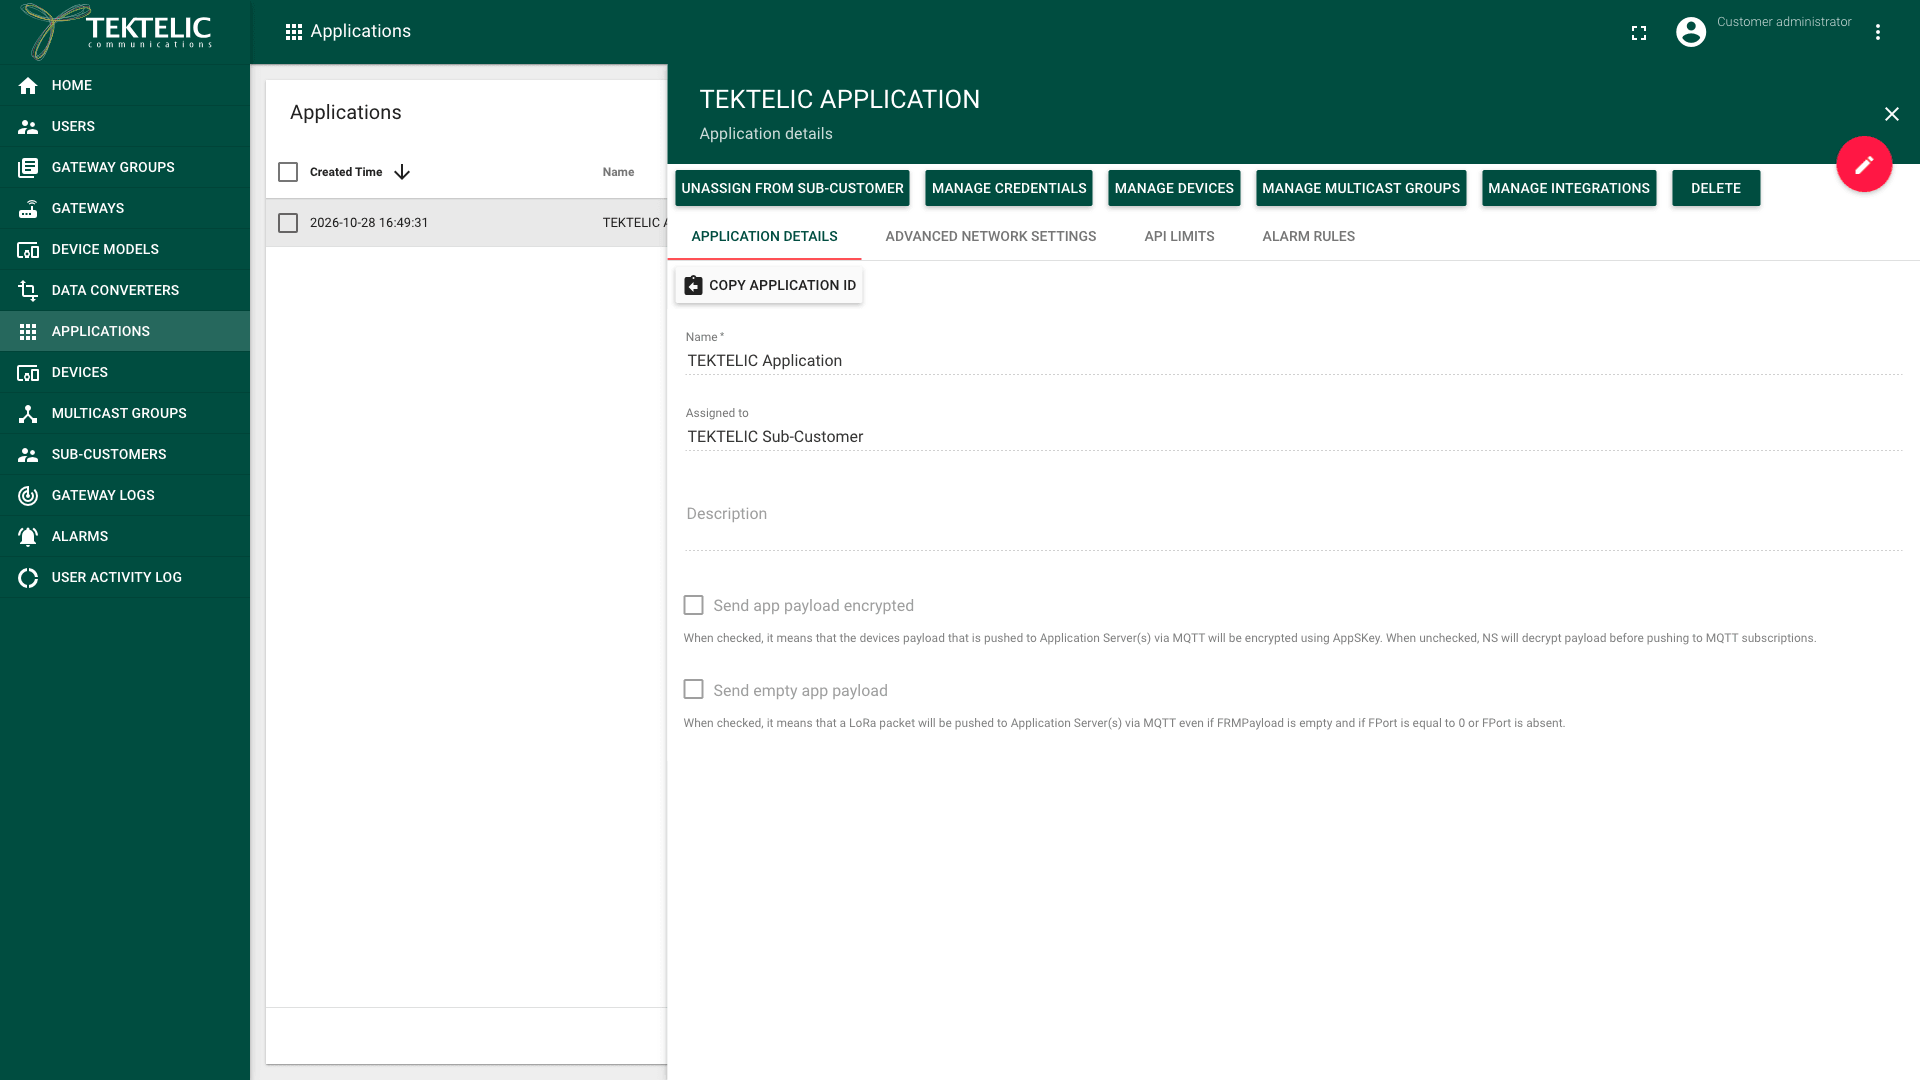
Select the application in the list. The details panel opens with four tabs: Application details, Advanced network settings, Api limits and Alarm Rules. Buttons above the tabs repeat the actions of the application's row.
-
Select the tab you want to change.
-
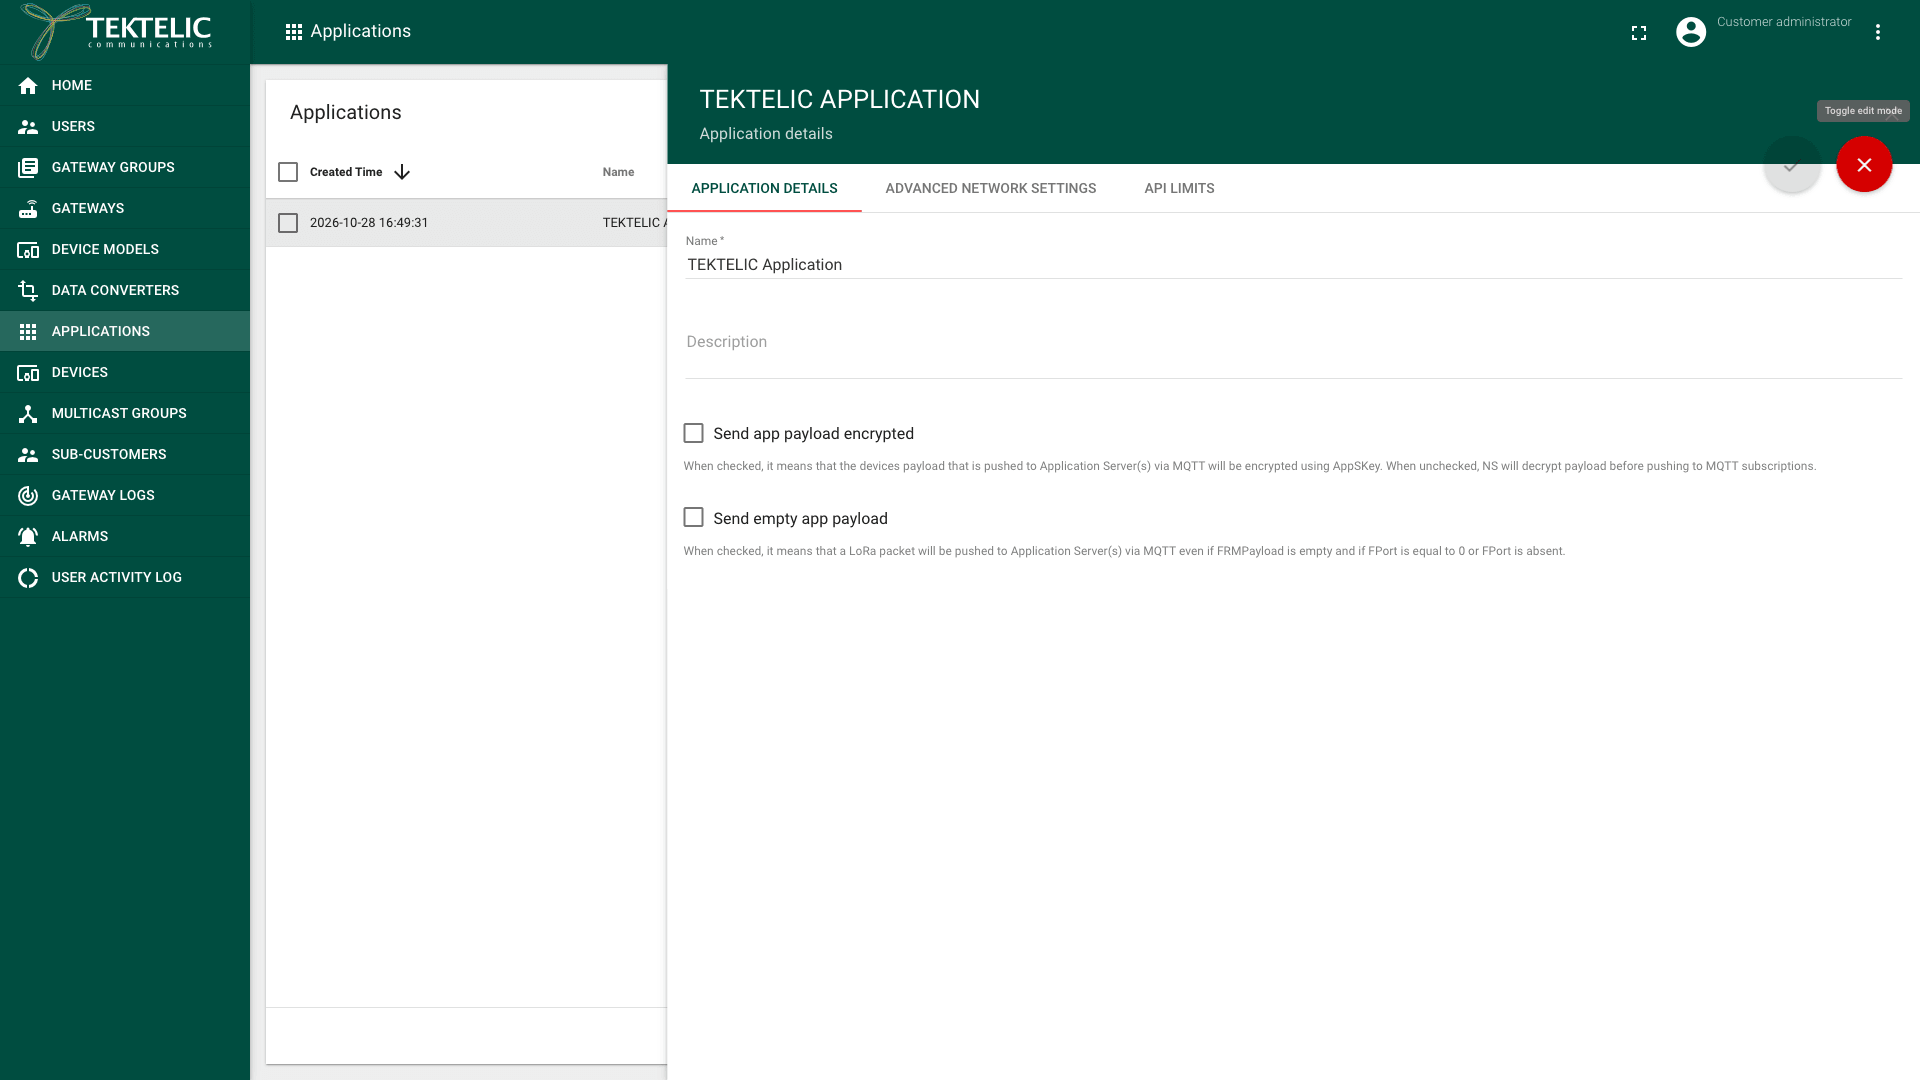
Select Edit mode (the pencil icon). The fields become editable. In edit mode, the Alarm Rules tab and the Assigned to field are hidden.
-
Change the values you need.
-
Select Apply changes (the check mark icon). To leave without saving, select the close icon instead.
To copy the application's ID, for example for the API, select Copy application Id on the Application details tab. Alarm rules have their own steps: see Application Alarm Rules.
Attach an integration
An integration forwards the application's device data to your system, for example over HTTP or MQTT. An application can have several integrations.
- In the side menu, select Applications.
- In the application's row, select Manage integrations (the puzzle piece icon). You can also select the application and then Manage integrations in its details panel. The application's integrations page opens, titled with the application name and Integrations.
- Select Add Integration (the + icon). The Add Integration dialog opens.
- Enter the integration settings, and select Add.
For the integration types and their settings, see Integrations Overview. We recommend HTTP Integration with the HTTP_V2 type for a first setup.
From the same row you also open the application's devices (Manage devices) and multicast groups (Manage Multicast Groups).
Set API limits
The Api limits tab caps how many packets the application handles in a time period. Limits are disabled by default.
| Field | What it does | Default |
|---|---|---|
| Enabled | Turns the limit on. | Cleared |
| Time value | The length of the period, as a whole number from 1. | 1 |
| Time unit | The unit of the period: Hours or Days. | Days |
| Max number of packets | The most packets allowed in one period, as a whole number from 1. | 2147483647 |
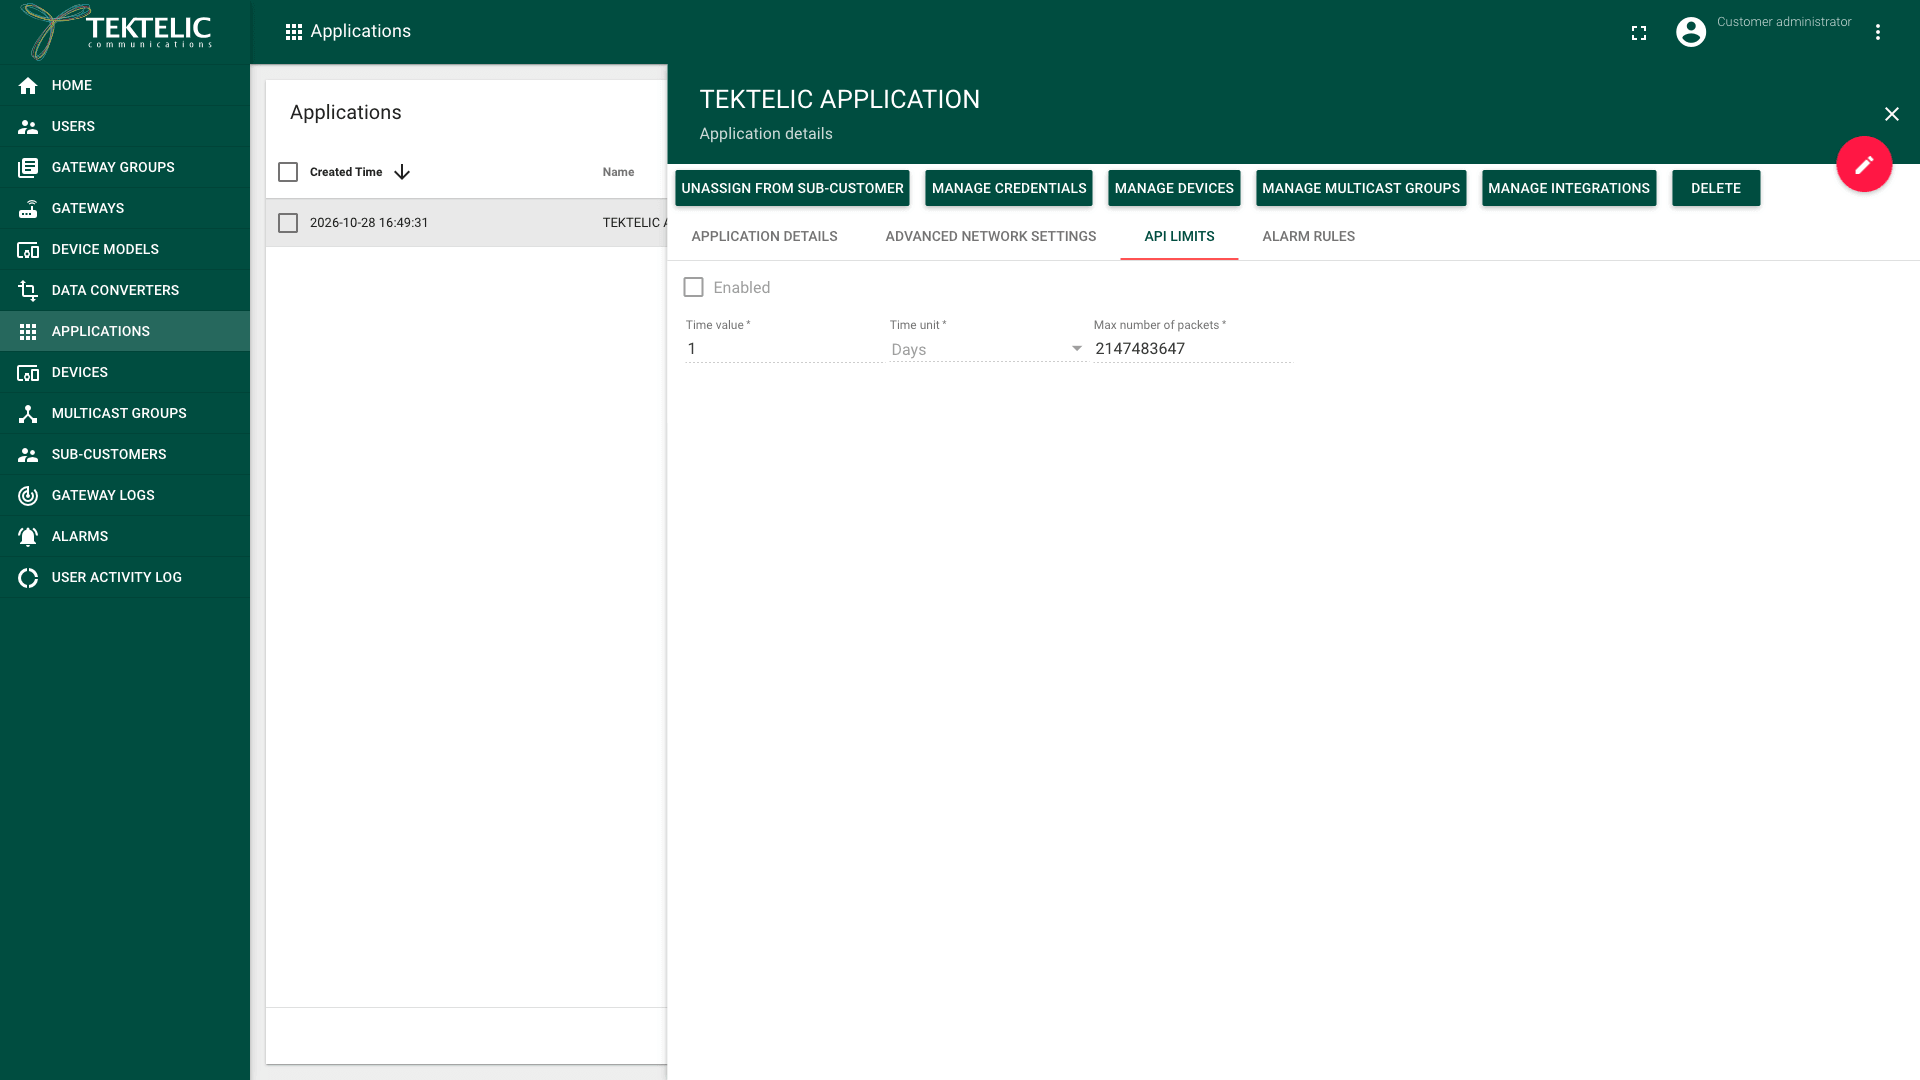
The limit counts both uplinks and downlinks. The application can't process more than Max number of packets during the configured period. confirm whether KONA Core drops packets above this limit and whether it reports an error.
To set a limit, open the Api limits tab, select Edit mode, select Enabled, enter the values and select Apply changes. We recommend a limit only for an application whose devices can flood the network, for example after a firmware fault.
Devices and multicast groups have their own Api limits tab with the same fields.
Manage application credentials
-
In the side menu, select Applications.
-
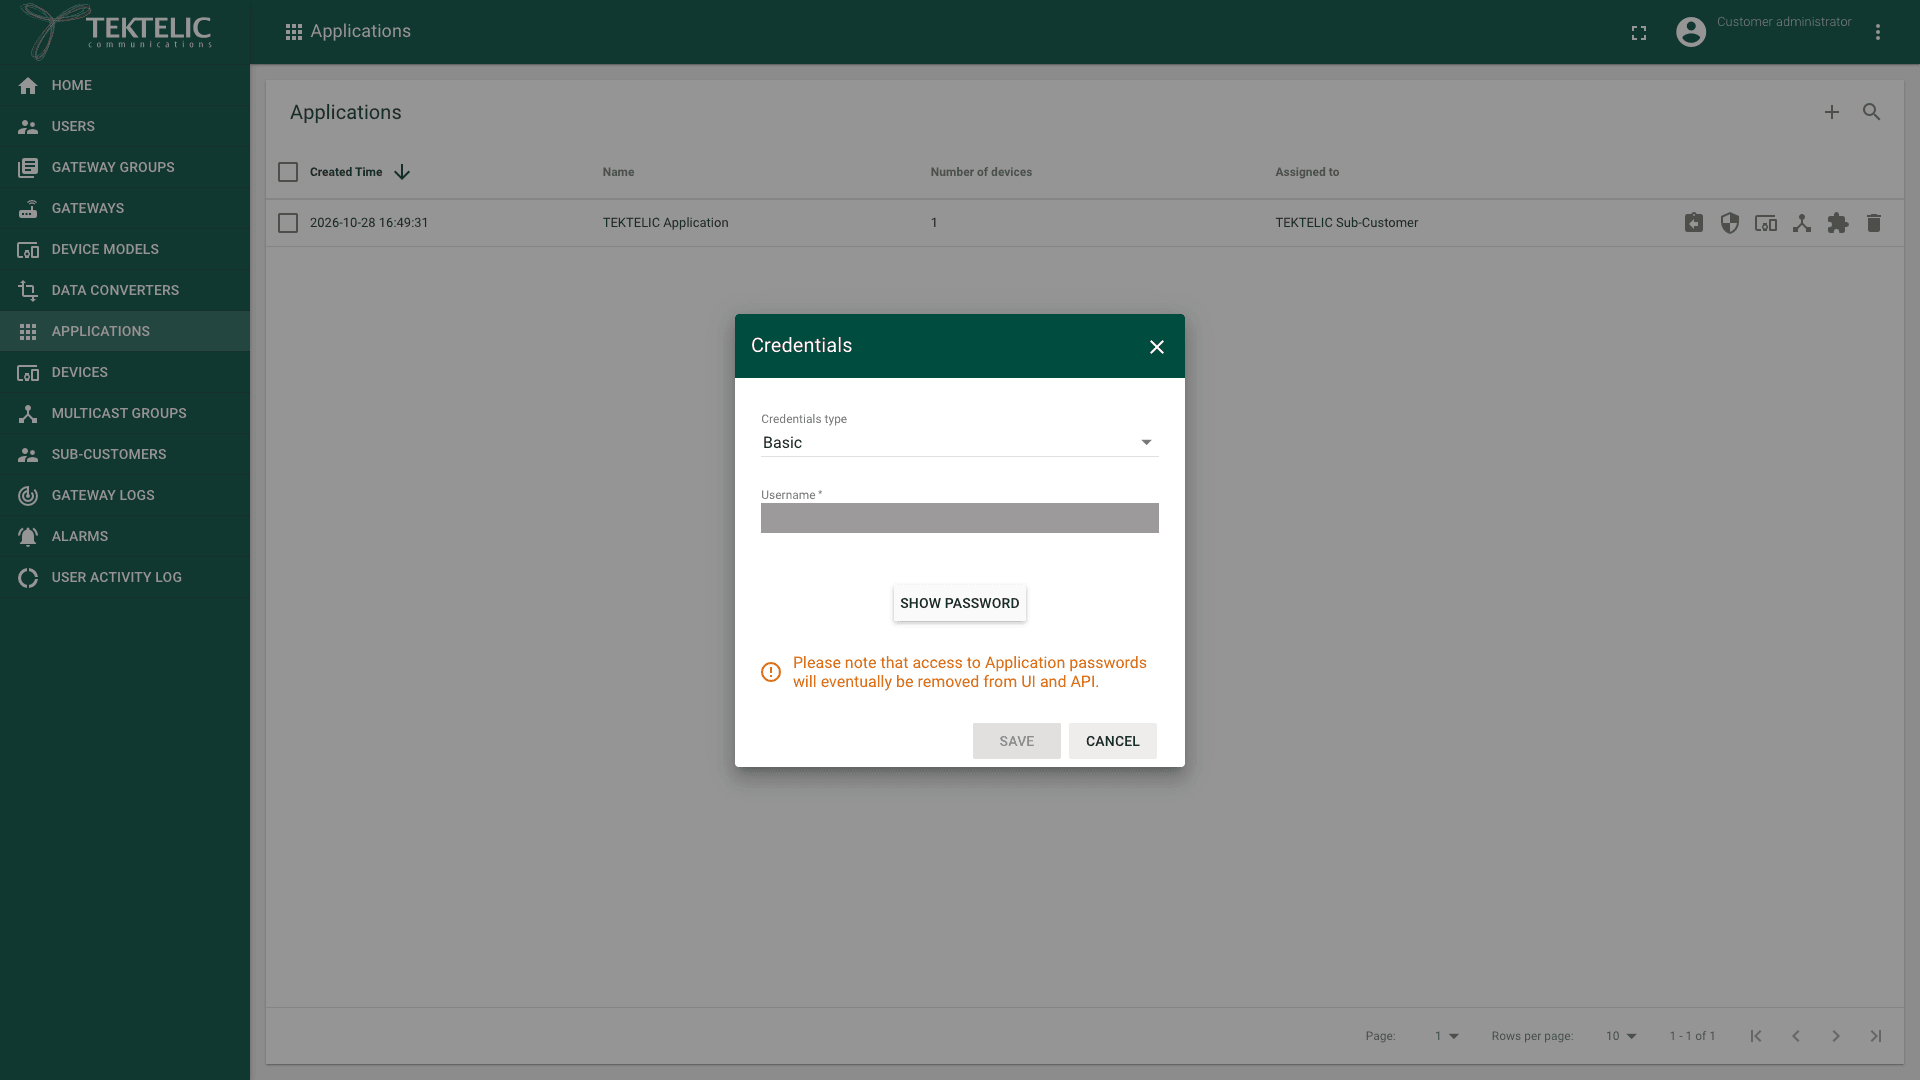
In the application's row, select Manage credentials (the shield icon). The Credentials dialog opens.
-
Read the Credentials type (Basic) and the Username. To see the password, select Show password.
-
Select Cancel to close the dialog without changes.
KONA Core generates an application username and password automatically. A Customer administrator can replace them with its own values in this dialog. The dialog warns:
Assign an application to a Sub-Customer
Assign an application to give a Sub-Customer access to it and its devices. An application is assigned to at most one Sub-Customer. Only a Customer administrator can do this.
-
In the side menu, select Applications.
-
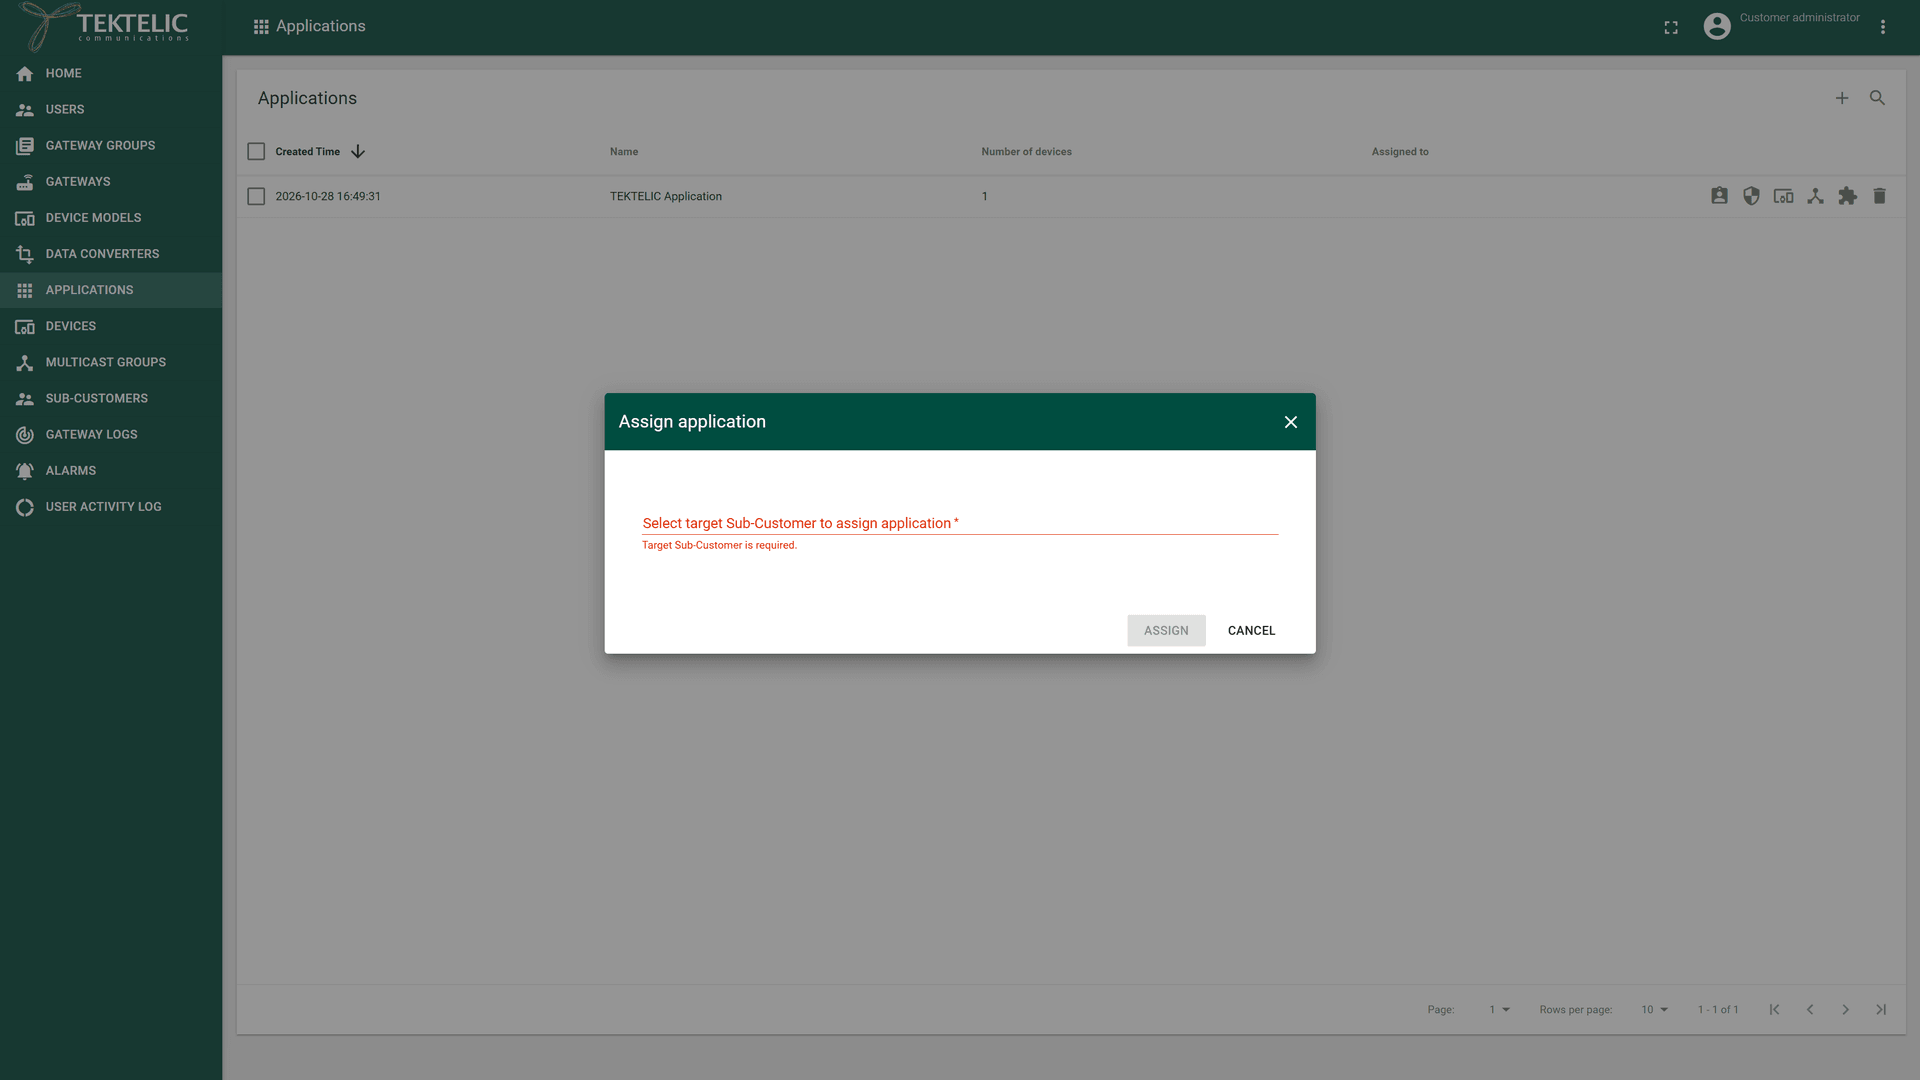
In the row of an unassigned application, select Assign to Sub-Customer. The row shows this icon only while the application isn't assigned. The Assign application dialog opens.
-
In Select target Sub-Customer to assign application, select the Sub-Customer.
-
Select Assign. The Assigned to column shows the Sub-Customer.
To end access, select Unassign from Sub-Customer in the application's row. A dialog asks: It also warns:
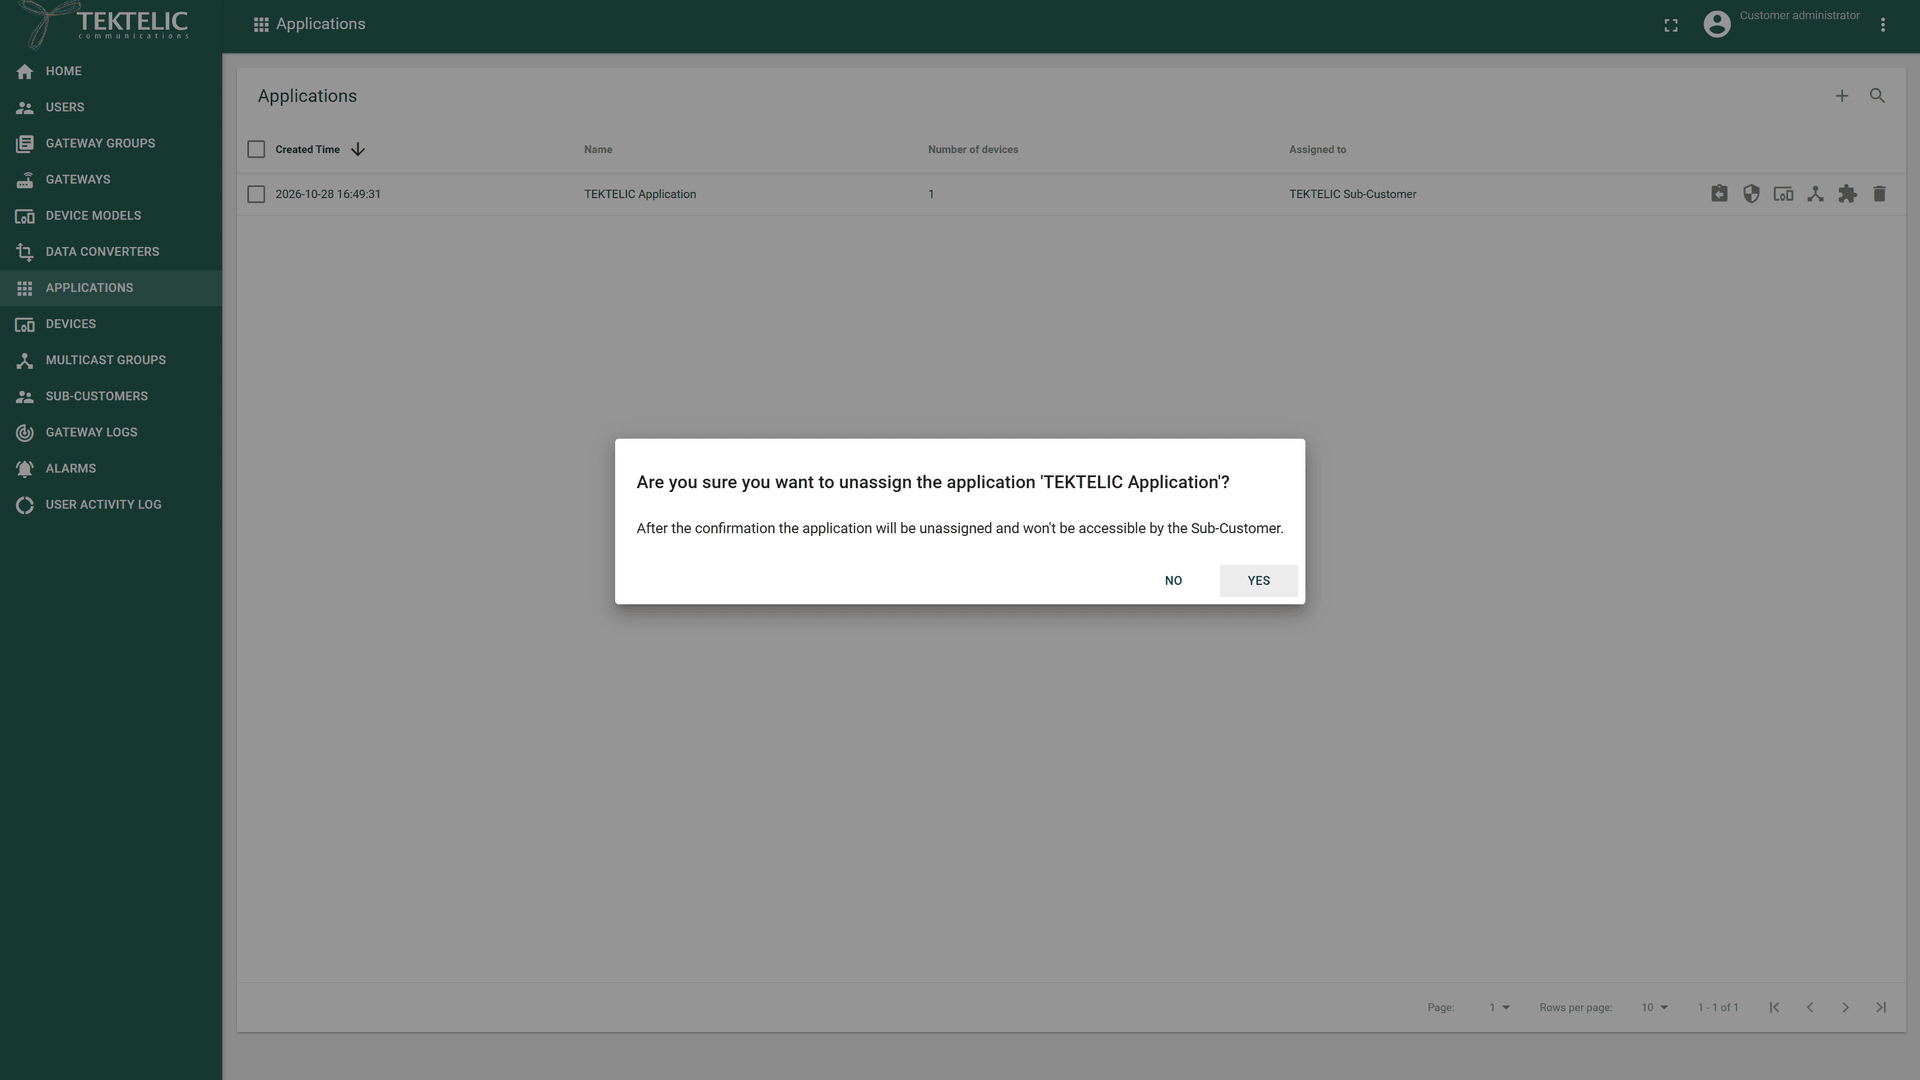
Select Yes to confirm.
For Sub-Customers, see Manage Customers & Sub-Customers.
Delete an application
Deleting an application also deletes its devices, integrations and multicast groups, even when the application still contains devices. This can't be undone. The UI warns:
-
In the side menu, select Applications.
-
In the application's row, select Delete (the trash icon). You can also select the application and then Delete in its details panel. A dialog asks:
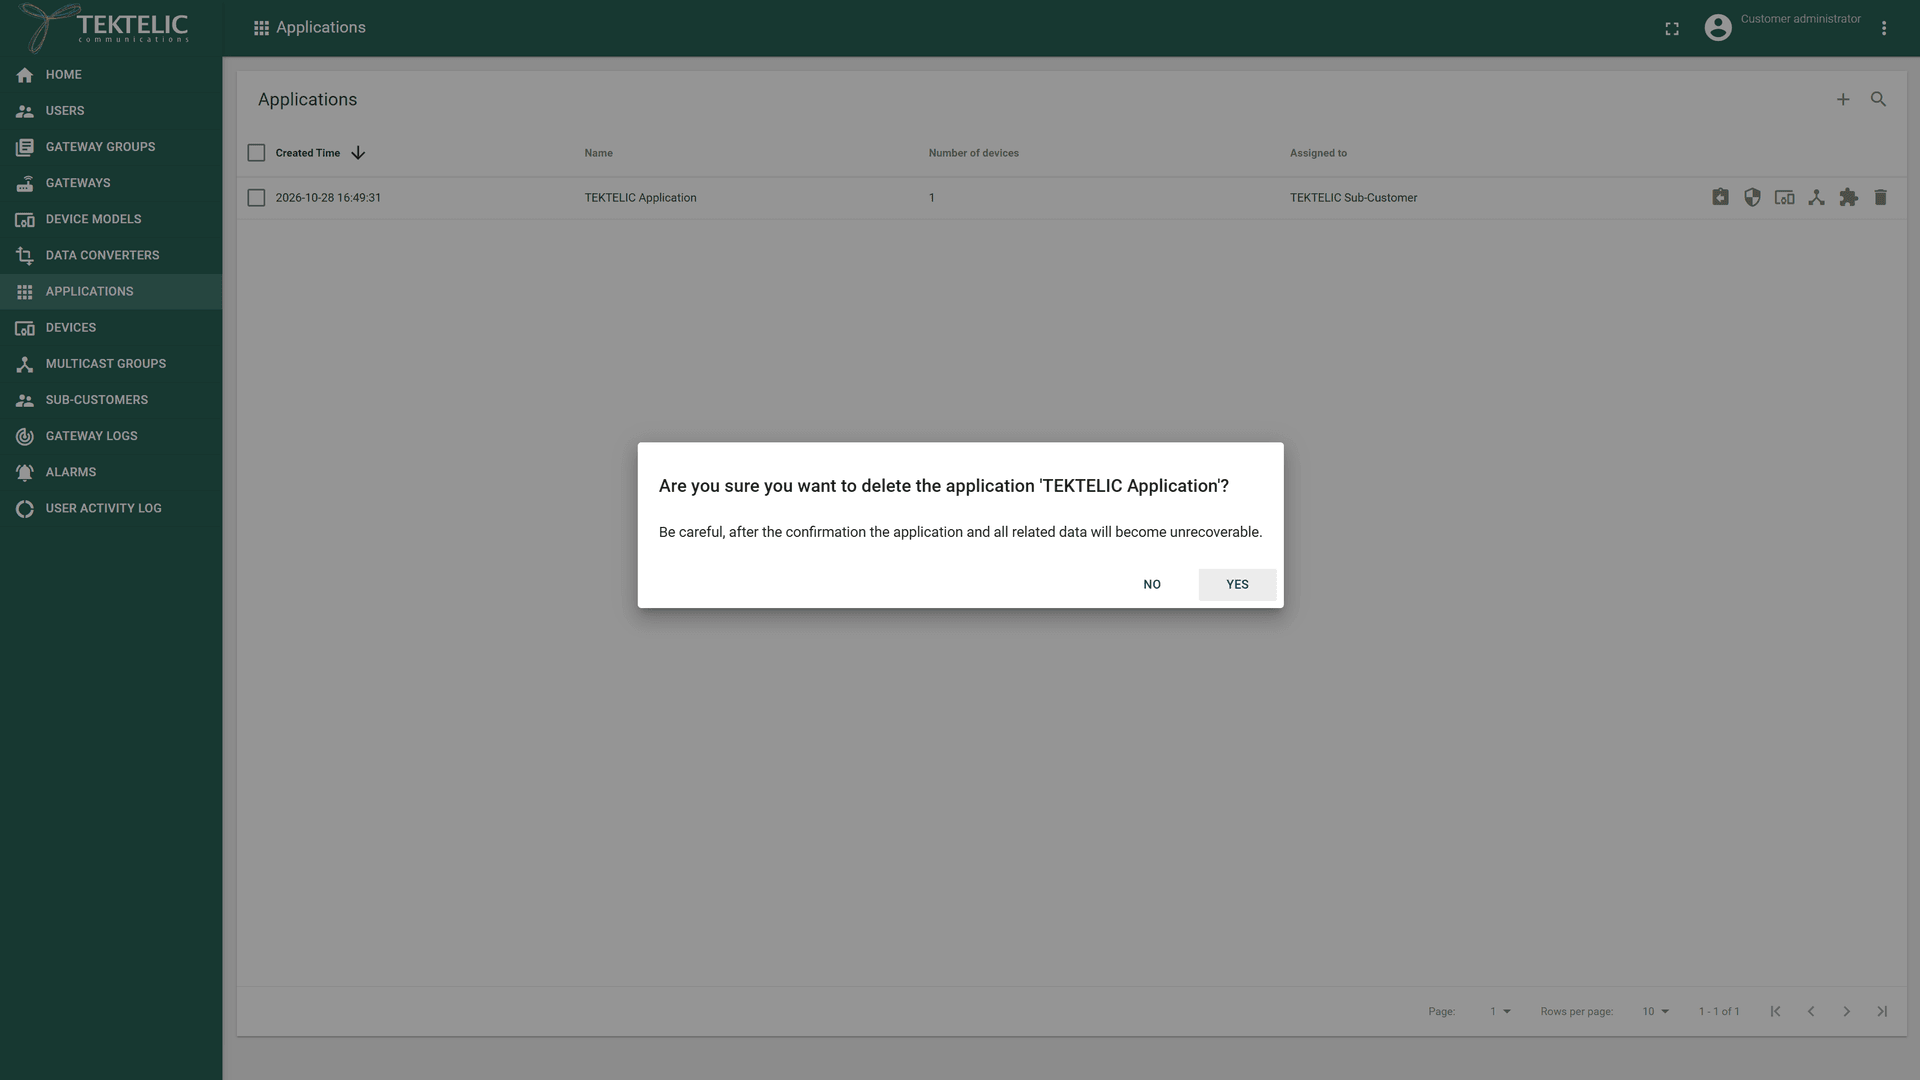
-
Select Yes. The application and its devices, integrations and multicast groups are deleted.
Check the result
- Create: the Applications list shows the application with Number of devices 0. After you add devices, the count goes up.
- Edit: the details panel shows the new values after Apply changes.
- Integration: the application's integrations page lists the integration.
- Assign: the Assigned to column shows the Sub-Customer. A Sub-Customer administrator sees the application on its Applications page.
- Delete: the application is no longer in the list.
To manage applications from your own system, use Save application, Delete application and Assign application to sub customer.
Troubleshooting
| Symptom | Likely cause | What to do |
|---|---|---|
| The Add Application dialog shows | Name is empty. | Enter a Name. Also check the Advanced network settings and Api limits tabs for required fields that show an error. |
| Add fails, and the application isn't created. | Your subscription plan's application limit is reached. | Delete an application you don't need, or ask for a larger plan. See Subscription Plans & Limits. confirm the exact UI message when the application limit is reached. |
| Assign to Sub-Customer isn't shown. | The application is already assigned, or your role isn't Customer administrator. | Unassign the application first, or ask your Customer administrator. |
Still stuck? A Sub-Customer contacts their Customer, a Customer contacts their Provider, and a Provider contacts TEKTELIC Support. Send the application name, the time in UTC, the exact error message and a screenshot.